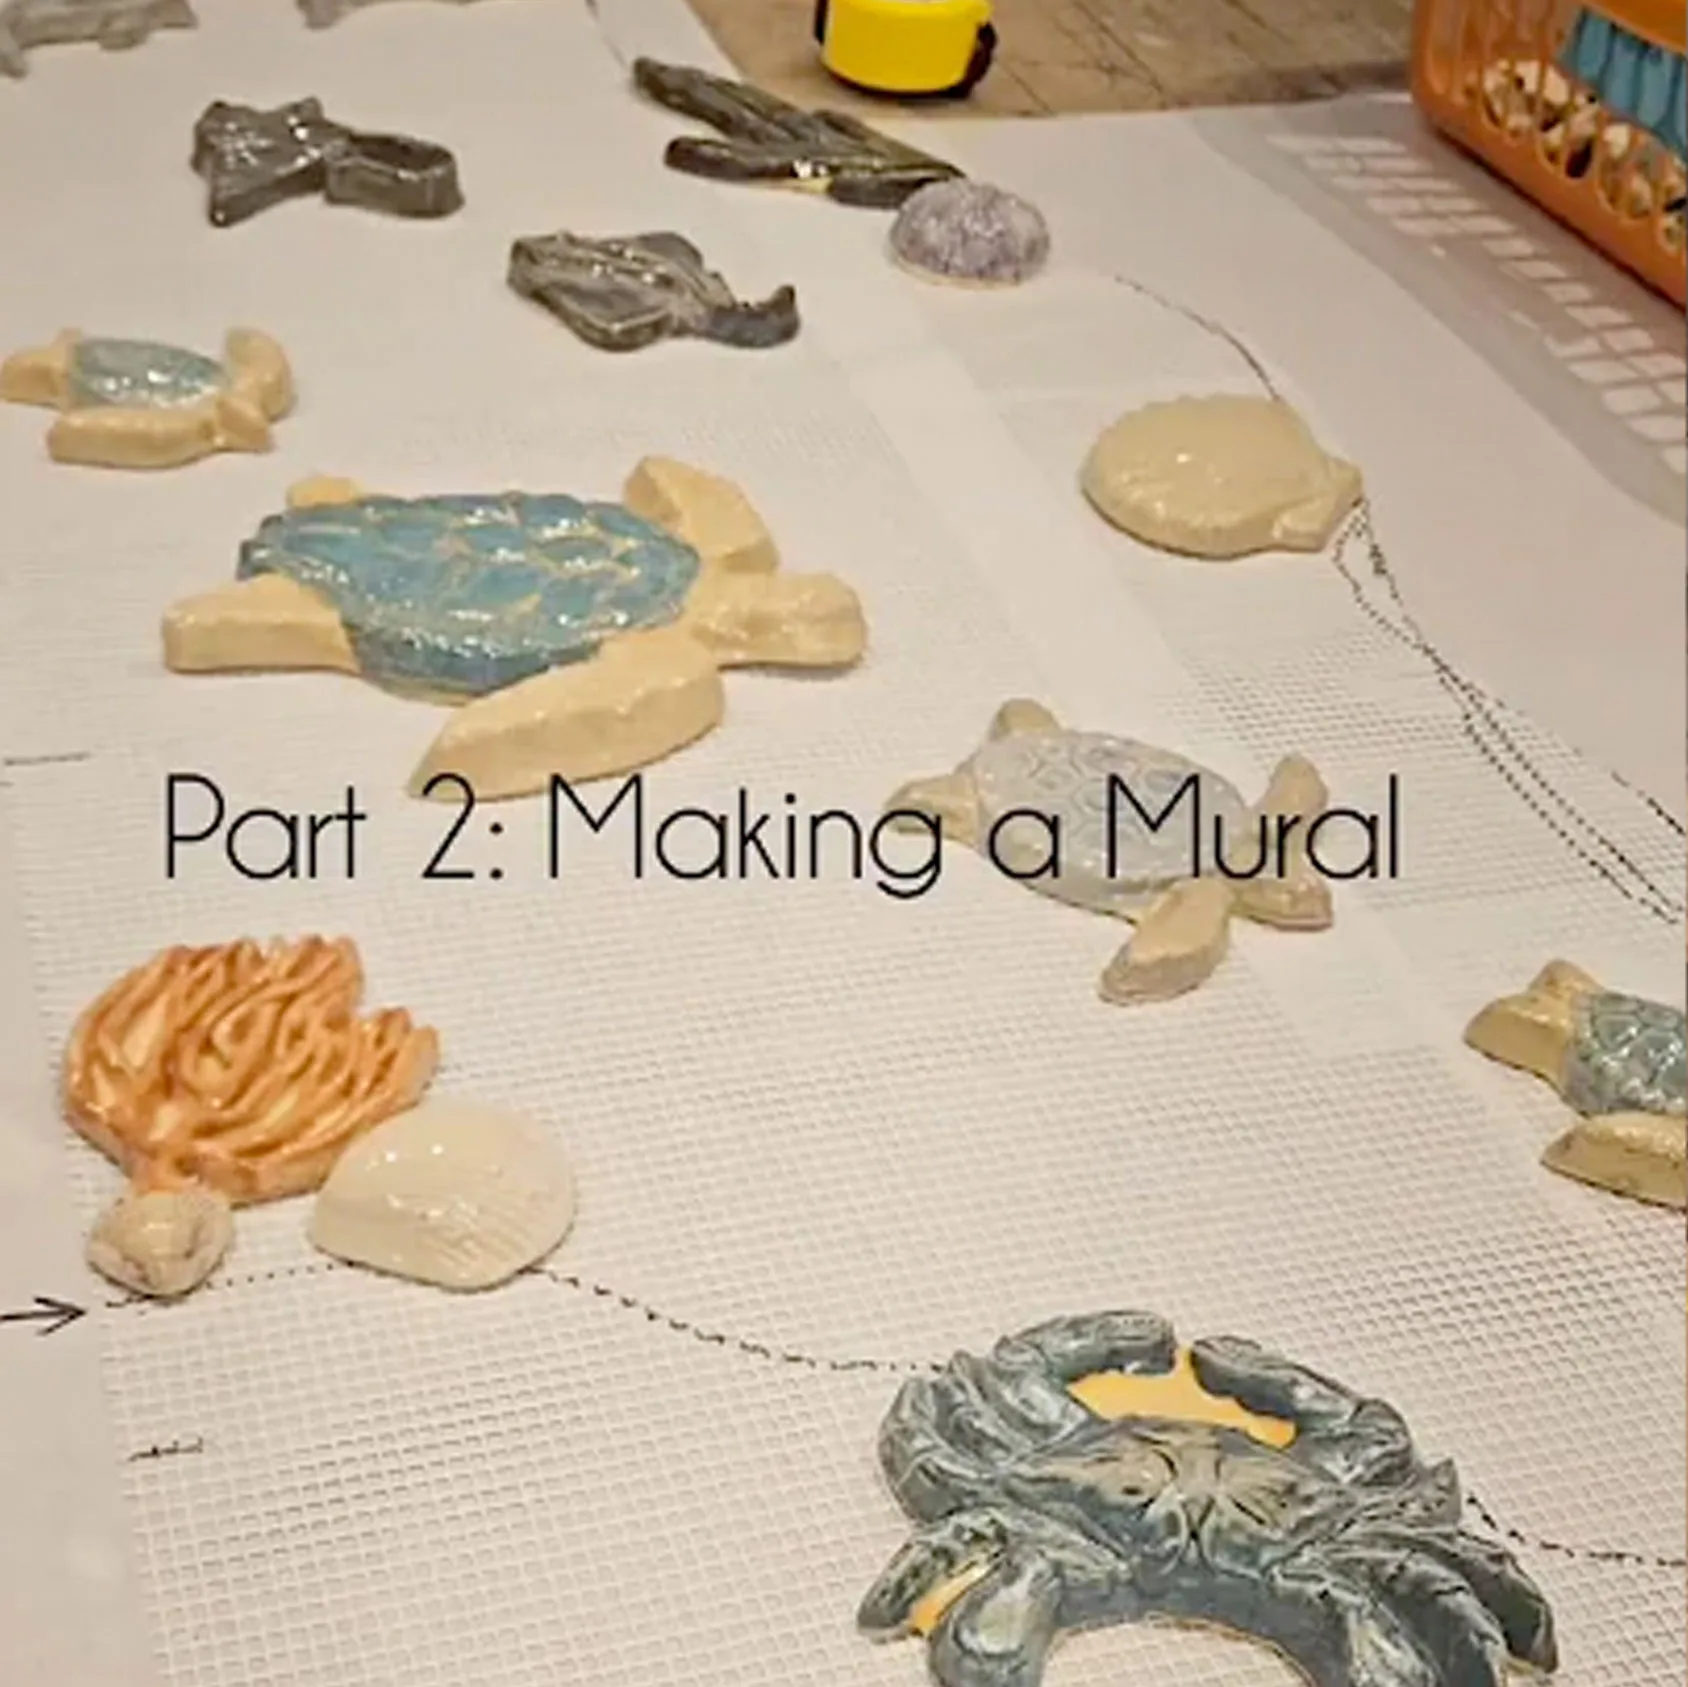
Welcome back! In Part 1, we walked you through how a colored pencil sketch and a whole lot of mesh set the stage for a stunning custom mosaic shower. Now it’s time to dive into the next chapter of the process: the part where things really start to look like a finished piece – one tile at a time.
Piecing It All Together (Literally)
So here’s where we left off: design approved, mesh laid out, and our hand-glazed tiles are placed. Now comes the part that’s equal parts satisfying and… well, tedious. This is where we fill in all the other textures – think glass pebbles, flat stones, and other unique bits we keep sorted in our big ol’ bins.
This phase? It’s basically one giant, gorgeous jigsaw puzzle. With texture. And sparkle. And a few challenges.
Puzzle Time (With Purpose)
Each piece has to look pretty and make sense within the flow of the design. Sure, we have the original drawing as our trusty roadmap, but zooming into those tiny areas? That’s all about instinct, artistry, and a careful eye for detail. One tile at a time, the scene takes shape.
Lights, Camera, Final Check
Once everything is in place, we bring in the studio lights and snap high-quality photos of the full layout. These aren’t just pretty pictures, they’re essential tools for our clients. We color correct, adjust shadows, and work a little Photoshop magic to make sure the images represent the mosaic as accurately as possible on-screen.
It’s our way of helping the client visualize their future shower as clearly as possible – because seeing it all come together makes a big difference!
Time to Glue!
Next up? Gluing. Just like the layout, this part is all done by hand. And because we work with such a variety of materials and thicknesses, we don’t use just any glue. Ours has tile setting adhesive built in, which allows us to literally level the playing field – building up thinner pieces so they line up perfectly with thicker ones. The result is a solid, seamless mosaic that’s not just pretty, it’s sturdy and installation-ready.
Measure Twice, Cut Once
Once everything’s securely glued down, we map out our cutting lines using string (yep, string!) and make sure everything is labeled and diagrammed. That way, when it’s time to install, it all fits together like the masterpiece it is.
Each section is carefully cut, packed on a piece of cardboard, wrapped with love, and boxed up for shipping. Every piece has a place, and every box is a bundle of tile joy on its way to a brand new home.
Stay Tuned for the Grand Finale!
And that’s a wrap on Part 2! The mosaic is fully laid out, glued, cut, and packed. In Part 3, we’ll show you the final installed shower – and trust us, you don’t want to miss it.
Until then, if you’re dreaming of your own one-of-a-kind mosaic, you know where to find us.

