Ever wonder how a custom tile masterpiece goes from a few colored pencil lines to a jaw-dropping mosaic installation? Well, you’re in luck! We’re pulling back the curtain on our creative process and giving you a peek at how one of our ocean-inspired shower projects comes to life!
It All Starts with a Sketch (and a Vision)
Before we touch a single tile, we start with the basics: a hand-drawn, to-scale colored pencil design. This drawing includes the shower walls, bathroom floor, curbs, and shower floor – giving our clients a full visual of what their space will look like when it’s complete. It’s not just a pretty picture; it’s the roadmap for everything to come.
Once the design is approved and we’ve locked in the final measurements, it’s time to roll up our sleeves (literally) and get to work.
Rolling Out the Mesh & Mapping the Magic
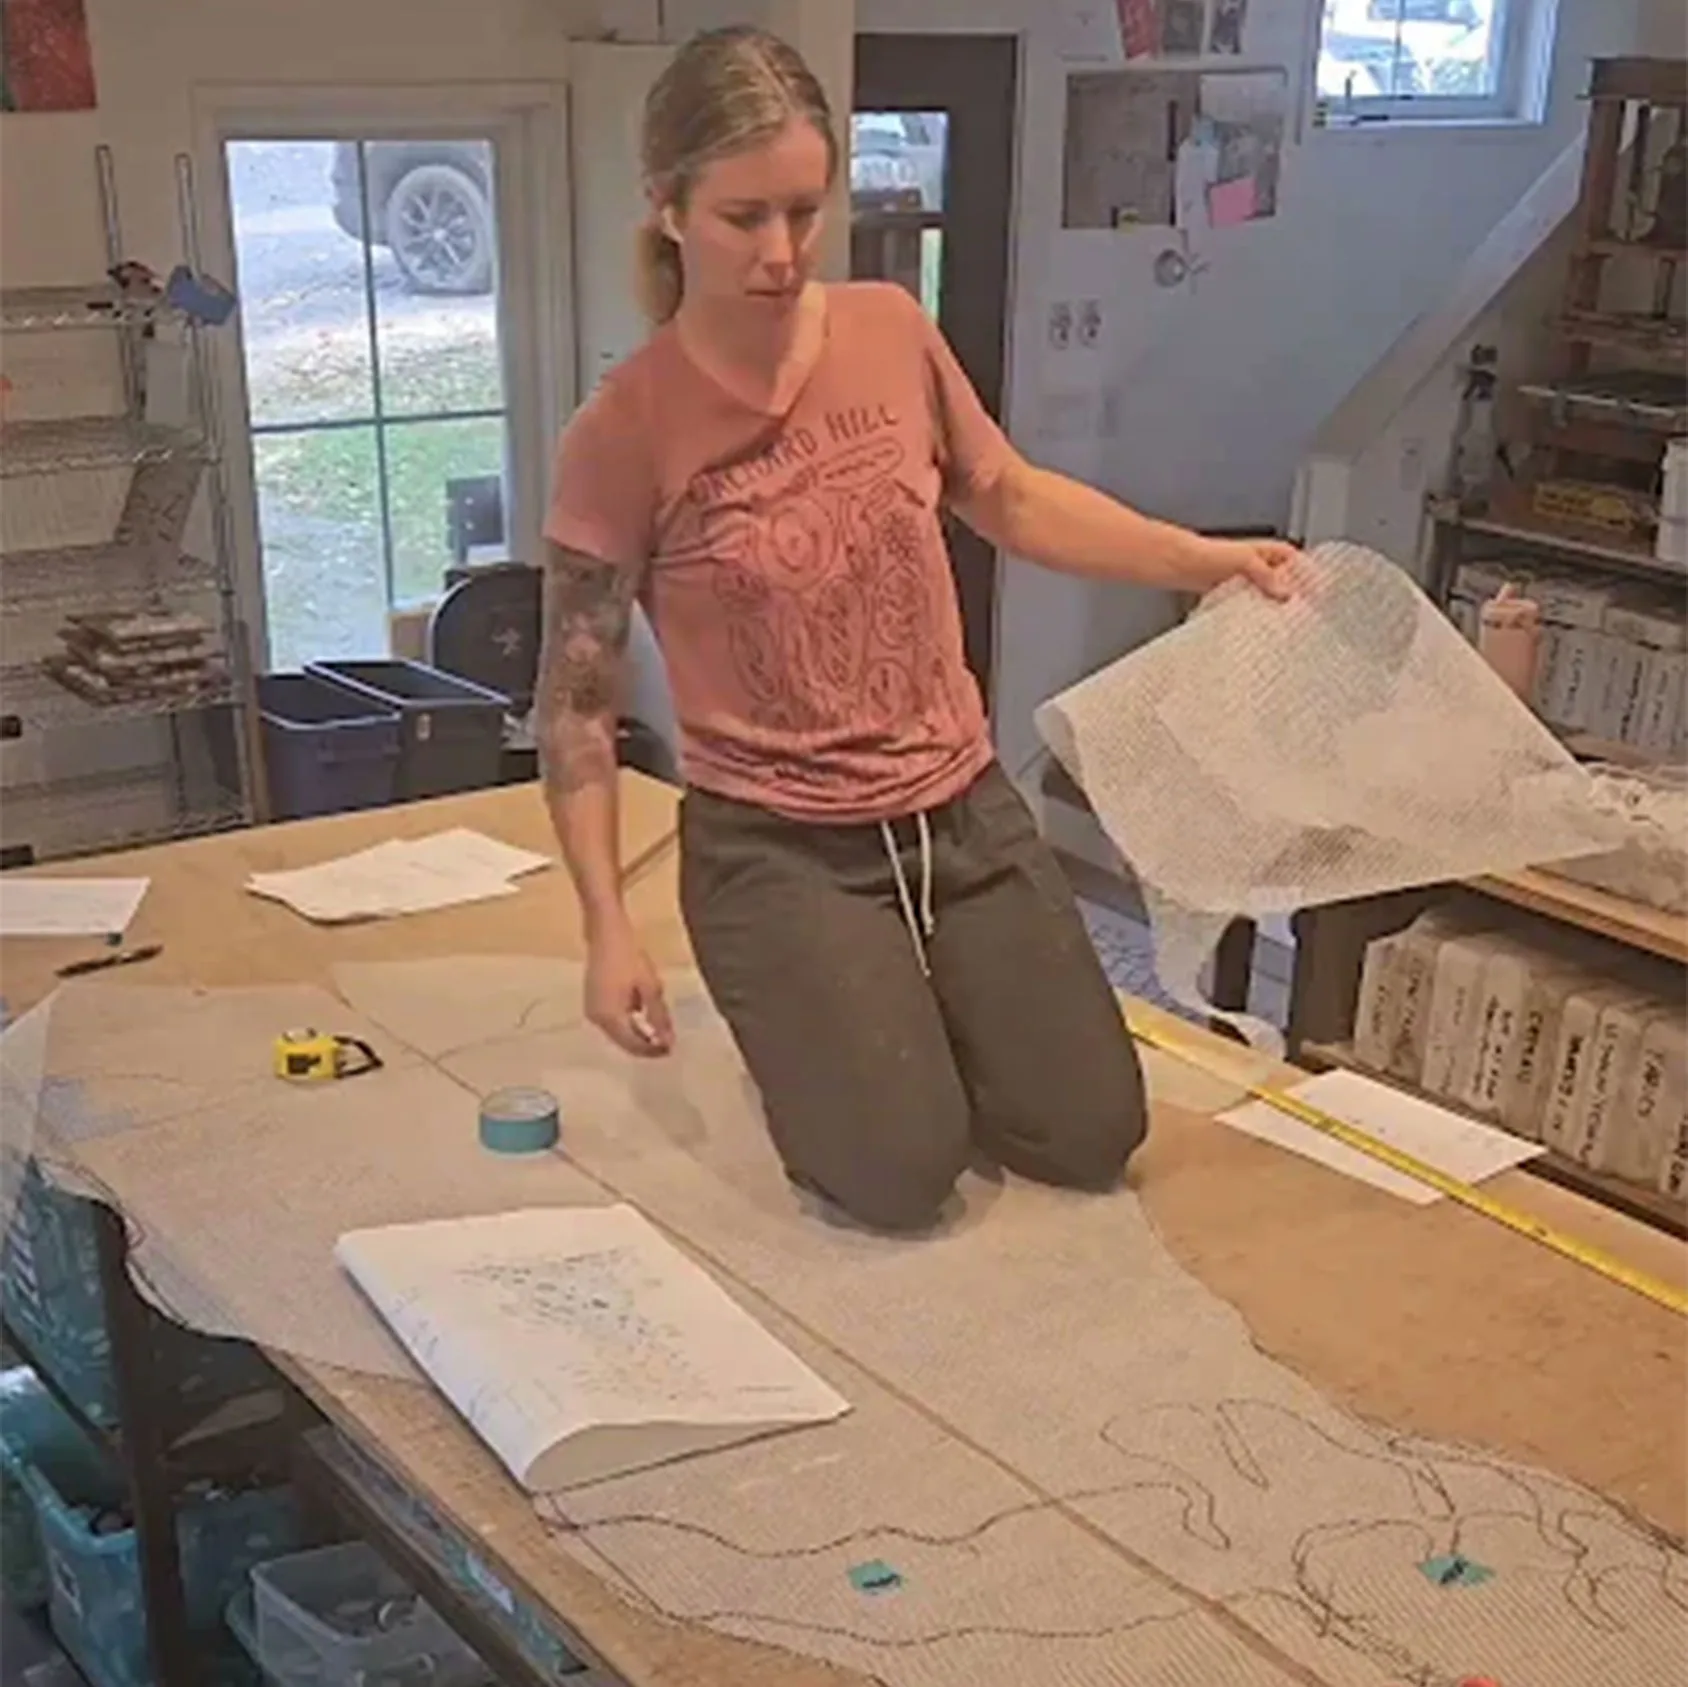
We begin by rolling out mesh backing that will hold our tiles in place during the design and installation process. Then come the rough sketches: registration marks and outlines drawn onto the mesh to help us stay on track.
From there, it’s a little bit art, a little bit geometry, and a lot of crawling around on the work table. We start to fine-tune the shapes, blocking out textures and sketching in details like “finger trails”; those glassy streaks that mimic waves reaching toward the stone-like beach area (Oh, and yes, there are adorable baby turtles tucked in there too. You spotted them, right?).
Adjust, Cut, Repeat!
Like any good handmade process, it’s never totally linear. Realizing the measurements were slightly off? No big deal. A quick shift, a couple tweaks, and we’re back on track. Once everything is in the right place, it’s time for the final outline and cuts. That means precision, patience, and maybe a little yoga-like flexibility to maneuver around the table.
Pup Breaks & Cookie Time
No day in the studio would be complete without a visit from our favorite delivery guy – aka “the cookie man” (a.k.a. the UPS driver). Cue the stampede of excited pups ready for their daily treat. It’s kind of a thing around here.
After that, it’s lunchtime for the team and a side-eye from Luna (our resident four-legged supervisor) convinces me to take a break too.
Getting Ready for Tile Placement
Post-lunch, it’s back to business. With the mesh cut and parchment laid underneath, we begin placing loose tile pieces – organizing them by section, mapping out colors and textures. Every detail matters when it comes to these mosaics, and this phase sets the stage for what’s next.
Speaking of which, this is just the beginning! In Part 2, we’ll dive into the layout of the shower floor and the real magic of tile placement.
Stay tuned!

